When we first started planning the trip, we decided to not book anything in advance in order to allow ourselves some flexibility. It worked out for the most part, and we were able to change our itinerary as we went along. Our determination to go with the flow was really tested on this leg of the trip where everything was turned topsy turvy and we had to scramble to make lots of last-minute changes. Luckily or unluckily (depending on how you look at it) we are no strangers to dealing with problems that arise while traveling.

It all started when we tried to book the inter-Island ferry to get ourselves from the North Island to the South Island. The ferries typically run multiple times a day, so we didn’t think there were any issues with waiting until the last minute to purchase our ticket. In theory, it was a good plan because it allowed more flexibility and time to get to Wellington, but in actuality, we almost got stranded on the North Island. It all began with the devastating 7.8 magnitude earthquake that hit New Zealand just a week before we got there. One of the ferries from Interislander, the main ferry company transporting people across the Cook Straight was damaged and docked until further notice.

Not knowing this at the time, we were confused when we couldn’t use the website to book our ticket the day before. After finally getting through to the operator, we learned that the earthquake had taken one of the ferries out of commission, causing a lot of back-up while the others that were running picked up the slack. We were told that if we didn’t already have a confirmed reservation, the only option was to fly to Christchurch. This didn’t work because we needed to drop off our campervan in Queenstown so flying was out of the question. When it started to look like we’re stranded on the North Island, we got a glimmer of hope. After a few hours of research we found the BlueBridge Cook Strait Ferry. They were also quite booked up, but they had an opening on their 2:30 am red-eye ferry going from Wellington in the North Island to Picton in the South Island. The timing was not ideal, but we didn’t even hesitate.


After we got our tickets sorted out, we took our time getting to Wellington. Since we had the whole day, we decided to make a pit stop at Otaki Beach for a long lunch. The pebbled beach was deserted, aside from a few seagulls. We drove the van right up to the water’s edge, popped open the trunk, pulled out the bean bag chairs, and enjoyed a leisurely lunch on the shore. The water was too cold and rough for swimming, but we were happy just being there.

[photo credit: ]


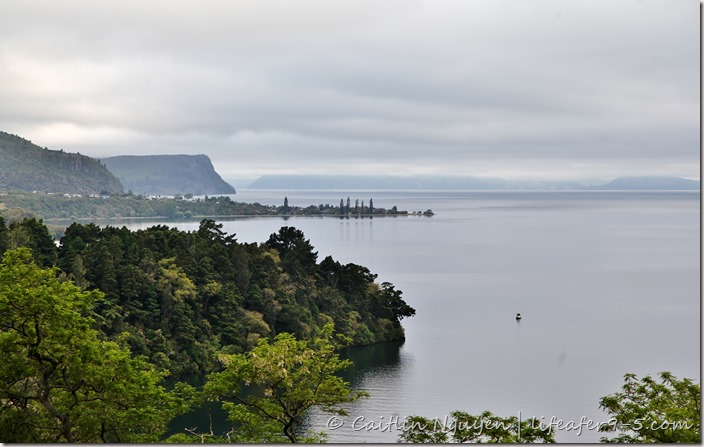
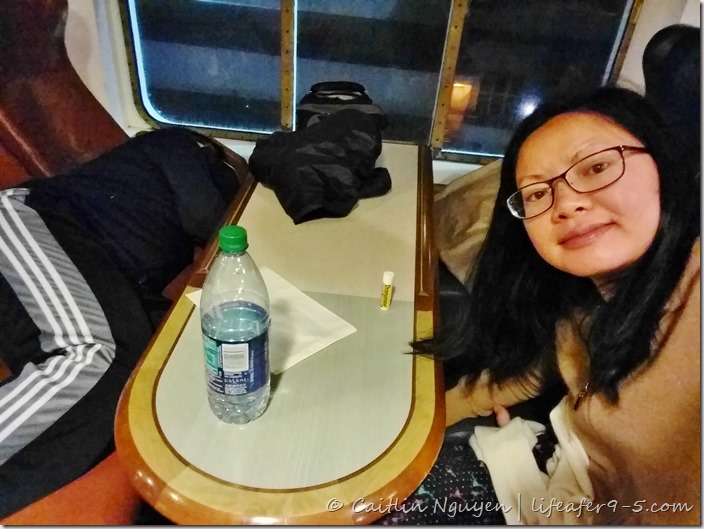
The ferry is actually more like a large cruise ship with a total of 9 decks, all of which were filled with trucks, cars, and campers except for the top two. Since we were not allowed to stay in the car, we grabbed a pillow and camped out in one of the booths. The ride crosses open water into the Marlborough Sound and takes 3.5 hours. After a short nap, Fausto woke me up in time to get the first glimpse of the beautiful sunrise over the Sound. Already, I could see that the landscape in the South Island was going to be more rugged.


In the South, we were greeted with dark clouds, gale force winds and pouring rain, opposite of the sunny weather we’d been getting in the North Island. It once again forced us to make another change to our itinerary. Instead of spending a few days at Abel Tasman National Park kayaking, we decided to head further South towards Punakaiki.


Accomodation:
We got to the Punakaiki Beach Camp around 5:30 pm. We picked this place because it had good reviews and we were too tired to drive further. We paid $34 for two people for a non-powered site, which was cheaper than what we’d paid so far. It had been raining all day, so the ground was wet and muddy. To get to the kitchen and bathroom we had to put on a big raincoat and wade through the dirty slushy mud pit; I was cold, wet and tired. This was probably my lowest point on the trip as we were reminded that living out of a van is not all fun and games. The experience can definitely take a toll on your body and spirit, especially when the weather is crappy outside. After quick dinner, we took a hot shower in the communal bathroom and called it a night. We wrapped ourselves up under 3 layers of blankets and watched a movie before falling asleep to the sound of the ocean and rain.

The next day, we woke to sunshine feeling refreshed, like all was right with the world again. While enjoying our morning tea, we admired the nearby beach and towering mountains while grudgingly admitting that it’s not a bad place when the sun is out. To make the most of the good weather we decided to head over to some of the nearby sights:


Pancake Rocks – The Pancake Rocks are the most famous sight in Punakaiki. It’s a 30 minute loop walk that takes you out to the rugged coastline where you see the spectacular limestone formations that were formed over 30 million years ago! The foundations of the Pancake Rocks were formed under the sea by fragments of marine organisms. Immense water pressure pushed down on the seabed causing the fragments to solidify into the more resistant limestone. Over time, seismic action lifted the limestone above depths of the ocean where sea water, wind and rain continued the erosion process, turning the stacked rock layers into what we see today.


Aside from the unique rock formations, many people come here to see the blow holes. The show usually starts around high tide, when strong ocean swells push water outward through vertical air shafts in the rocks. The loud hissing and whooshing noise can be heard before a column of water shoots skyward, covering everyone in a fine white sea mist.

Hokitika Glow Worm Dell – Glow worms are bio-luminescent insect larvae found on cave ceilings, and undisturbed woodlands all over New Zealand. Their alluring green glow and a long thread of sticky web help them attract insects, which they turn into food. The easiest way to see these glow worms is to join a cave tour. Waitomo and Te Anau are two of the most well known glow worm caves. However, if you want to avoid these overcrowded tourist sites in favor of a more authentic experience, then make sure you stop by the Hokitika glow-worm dell or any of the woodland walks around the country.
The entrance to the dell is right off of Highway 6. Park and follow the path for a couple of minutes into a clearing where you’ll see soft lights glowing on banks that are more than forty feet high. This is the largest outdoor glow worm gathering in the country. The glow worms are sensitive to light and sound, so make sure to be absolutely quiet and refrain from using a flashlight or flash photography. It’s important to remember that the glow worms here are only visible after dark. We missed that crucial piece of information and were really confused when we came during the day and couldn’t see anything. It was disappointing, but we’d try again at another spot.

Hokitika Gorge
On our way to Fox Glacier, we made a detour to see the famous turquoise blue waters of the Hokitika Gorge. This hidden gem is located 35 minutes on the outskirts of Hokitika township. It’s an easy 30-40 minute round trip walk to the gorge and back to the parking lot.

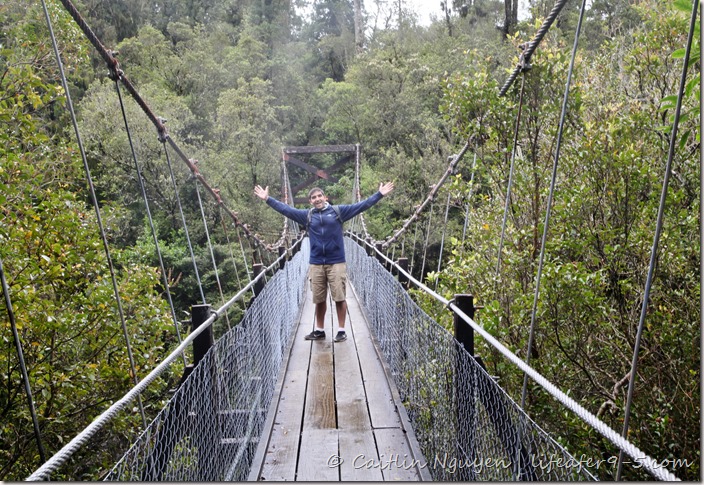
The well defined trail takes you through dense fern covered forest before emerging onto a viewing platform. From there you can continue on for another 6 minutes to reach a swing bridge where you’ll have excellent views of the blue waters of the Hokitika River. You can walk on further down to the bank of the river where you’ll be greeted with the beautiful views of the gorge. Keep in mind that this part of the path is more challenging and full of slippery uneven rocks. There are also a lots of sandflies by the river bank.

I’d seen so many photos of this place, so suffice it to say that my expectations were pretty high. The pictures always show the beautiful turquoise blue water surrounded by rugged rock cliffs. The bright creamy blue color comes from melted glacial ice mixed with the built up silt that has been ground down from the rock faces.

Unfortunately, what we saw was a pool of grey muck, quite different from what the pictures led us to expect. The water changes colors depending on the weather. Since it was raining and cloudy on the day we were there, we didn’t get to see the distinctive blue color. The place was still beautiful and we really enjoyed the peace and tranquility of this area.

Information Round-up:
- Distance: 320 km from Turangi to Wellington, 390 km from Picton to Hokitika
- Accommodation: Punakaiki Beach Camp – $17 NZD per person
- Transportation: ferry – $132 NZD per person

Pingback: New Zealand: Glacier Country | life after 9to5